Contouring can completely transform your makeup look—but only if you have the right tools. Enter the sculpting makeup brush every beauty lover needs in their kit: the sculpting brush. Designed to define, shape, and enhance your facial structure, a sculpting brush makes it easier than ever to master a natural, lifted look. Whether you’re a seasoned pro or new to contouring, understanding how to use this tool can help you achieve beautifully blended results with minimal effort.

How the Dual-Ended Sculpting Makeup Brush Defines and Blends
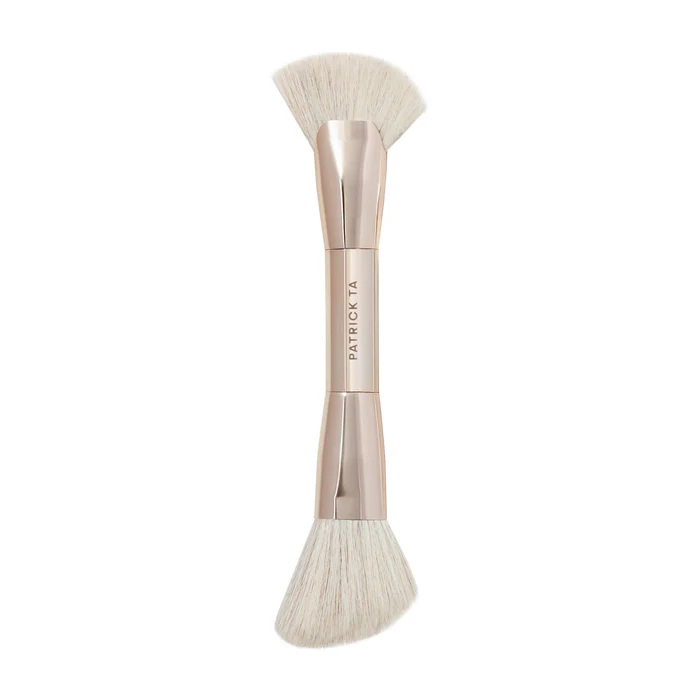
The dual-ended sculpting brush from Patrick Ta is crafted for precision and versatility. One end features a densely packed brush head ideal for applying cream or powder contour products with control and definition. The other end offers a softer, fluffier brush perfect for blending and diffusing harsh lines for a seamless finish.
When paired with the best bronzer, this sculpting brush makes it easy to define cheekbones, sculpt the jawline, and add warmth to the forehead with targeted application. Use the denser end to place product in the hollows of your cheeks, along your temples, and under the jaw, then flip to the blending side to buff everything out until it looks soft and natural.
The angled design also makes it easy to follow your bone structure, ensuring you never go too low or apply product too heavily. With just a few strokes, you can create a lifted, contoured look that still feels effortless and skin-like.
Pro Tips for Getting a Natural-Looking Contour with a Sculpting Makeup Brush
The secret to contour that looks believable—not heavy or overdone—is in both your technique and product pairing. Start with a hydrated, even base like the best non comedogenic foundation to ensure a smooth canvas. Non-comedogenic formulas won’t clog pores or settle into fine lines, giving your skin a clean, breathable foundation to work with.
Once your base is set, apply bronzer or contour in light layers using the sculpting brush. Always begin with less product than you think you need—it’s easier to build than to remove excess. Follow the natural hollows of your cheeks (just above the jawline, not below) and use upward strokes for a lifted effect.
For an even more natural finish, consider applying your contour in soft daylight. This helps you better see how the product looks on your skin in real life, ensuring your blend is on point and your definition doesn’t look too harsh.
Finish with a touch of blush on the apples of your cheeks and a light sweep of highlighter on the high points of the face to complete your sculpted, glowing look.
A well-designed makeup brush can take your contour from basic to pro-level in just a few strokes. With Patrick Ta’s dual-ended sculpting brush, the best bronzer, and a skin-perfecting best non comedogenic foundation, you’ll have all the tools you need to create defined, natural-looking glam—no harsh lines, no heavy blending required.
